


Are you tired of that dull, chipped paint on your car? Refinishing your vehicle can be an exciting and rewarding project if done correctly.
This guide will take you through the ins and outs of DIY car refinishing, ensuring you achieve a professional-looking finish without breaking the bank.
Whether you’re a seasoned do-it-yourself person or a complete novice, this post will provide you with valuable insights, practical car painting tips, and step-by-step instructions. You’ll learn everything from preparation to the final clear coat, all while using industry techniques to get that showroom shine.
Benefits of DIY Car Refinishing
Refinishing your car yourself can be a daunting task, but the benefits are well worth the effort. Not only is do-it-yourself restoration a cost-effective alternative to professional services, but it also offers the following advantages:
- Cost-Effective: Professional car refinishing can be expensive. Doing it yourself saves you a significant amount of money.
- Customization: When you handle the project, you have complete control over the colors and finishes.
- Satisfaction: There’s a unique sense of accomplishment in seeing your hard work pay off with a gleaming, freshly painted car.
These benefits make DIY car refinishing not only a smart financial decision but also a deeply satisfying hobby. Whether you’re a seasoned enthusiast or a beginner eager to learn, taking on a car restoration project yourself can provide immense rewards.
Essential Tools and Materials
Before you start your automotive refinishing project, gathering all the essential tools and materials is crucial for achieving professional results. Here’s a comprehensive list to guide you:
- Sandpaper and Sanding Blocks: Different grits are needed for various stages of sanding, ensuring a smooth surface.
- Paint Sprayer: Investing in a good-quality sprayer ensures an even coat and professional finish.
- Primer, Paint, and Clear Coat: High-quality automotive paints are essential for durability and appearance.
- Protective Gear: Safety is paramount, use gloves, masks, and goggles to protect yourself from harmful chemicals.
- Cleaning Supplies: A degreaser and tack cloth are vital for properly preparing the surface before painting.
Having the right tools and materials at hand will save you time and ensure a smoother process, setting the stage for expert-level results. For more car painting tips and to master the art of automotive refinishing, make sure you’re well-prepared before you begin.
Preparing Your Car
Proper preparation is the critical first step to achieving a professional-quality finish in DIY car refinishing. Here’s how to do it right:
- Cleaning: Begin by thoroughly washing your car to remove all dirt and grime. A clean surface ensures better adhesion of the new paint.
- Sanding: Use sandpaper to smooth out any imperfections and remove old paint. Start with a coarse grit and gradually move to finer grits for a seamless finish.
- Masking: Protect areas you don’t want to paint with masking tape and plastic sheeting. This step is essential to prevent overspray and ensure clean lines.
By following these steps, you set the foundation for a flawless finish and prevent issues down the line. Proper preparation not only enhances the result but also increases the longevity of your DIY car refinishing project.
Choosing the Right Paint and Primer
Selecting the right paint and primer is crucial for achieving a long-lasting and attractive finish in car restoration. Here are some car painting tips to ensure the best results:
- Primer: Always use a high-quality primer to ensure the paint adheres well to the surface. This foundational layer is essential for durability.
- Base Coat: Choose a color that not only complements your style but also matches your car’s original paint. This ensures a seamless and professional look.
- Clear Coat: This layer protects the paint from environmental damage and adds a glossy finish, enhancing the overall appearance.
Investing in premium paint products can make a significant difference in the outcome, providing both aesthetic appeal and longevity. By following these steps, you’ll be well on your way to a flawless car restoration.
Painting Techniques for a Professional Finish
To achieve a professional finish in DIY car refinishing, follow these expert tips:
- Test the Sprayer: Practice on a piece of scrap metal to get a feel for the sprayer. This step ensures you’re comfortable with the equipment and can maintain a steady hand.
- Apply Primer: Use even, sweeping motions to apply a thin coat of primer. Allow it to dry completely before sanding lightly. This prepares the surface for the base coat and helps achieve a smooth finish.
- Base Coat Application: Apply multiple thin coats rather than one thick coat. Allow each layer to dry before applying the next. This technique prevents runs and ensures an even coat.
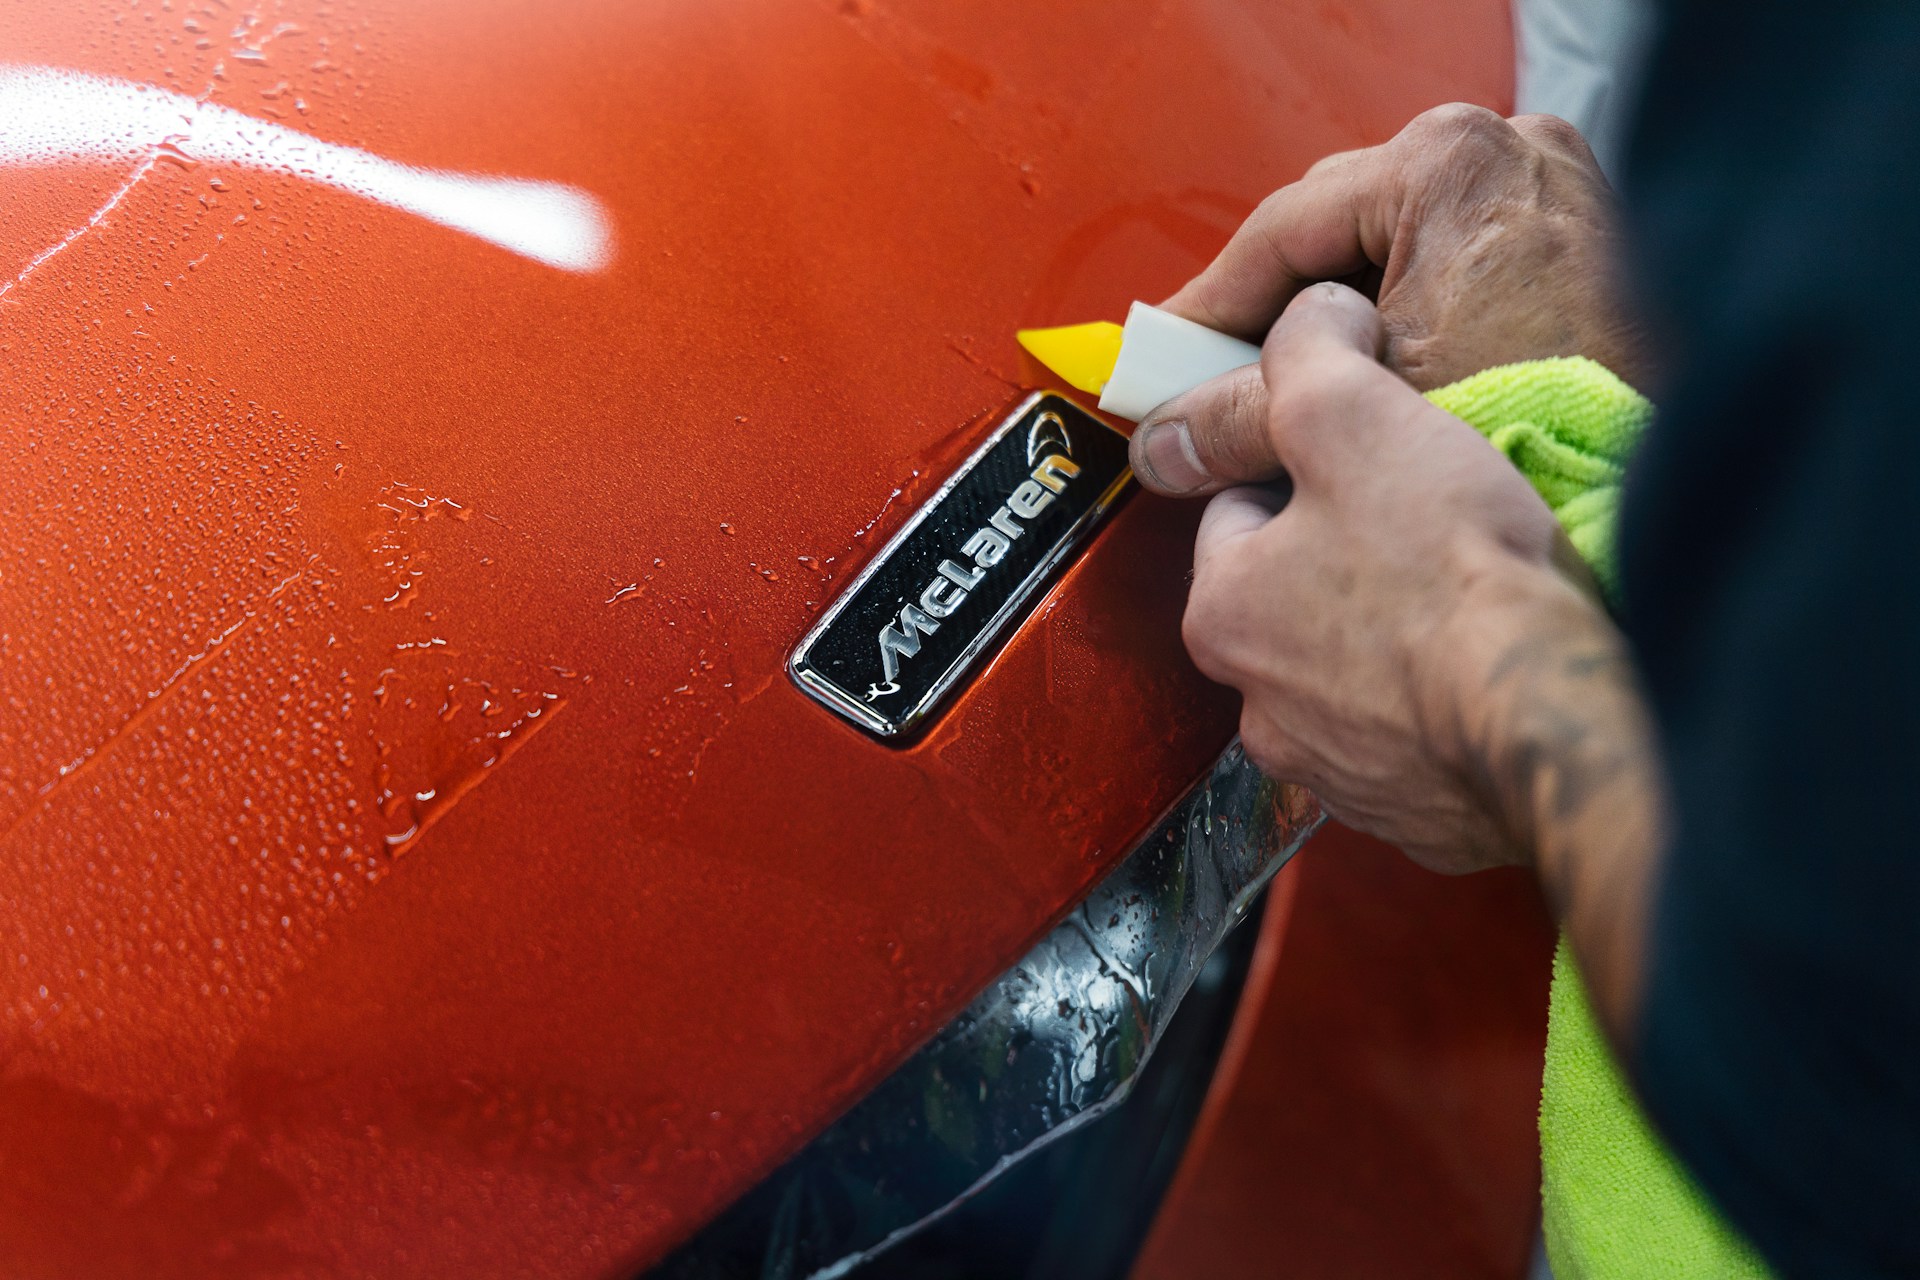
- Clear Coat: Finish with a clear coat to protect the paint and add shine. A clear coat not only enhances the appearance but also provides a durable layer of protection.
Patience and precision are key to avoiding runs and achieving a professional look in automotive refinishing. By incorporating these steps, you’ll enhance the quality of your DIY car refinishing project and achieve a showroom-quality finish.
Post-Painting Care and Maintenance
Once you’ve completed your do-it-yourself car painting project, proper care and maintenance are essential to preserve the new finish. Here’s a detailed guide to help you keep your car looking its best:
- Curing Time: Allow the paint to fully cure before washing or waxing. This period is crucial for ensuring the paint sets correctly and achieves maximum durability.
- Regular Washing: Use a gentle car wash soap to clean your vehicle regularly. Avoid harsh chemicals that can damage the fresh paint.
- Waxing: Wax your car every few months. This step not only maintains the shine but also provides added protection against environmental elements.
By following these steps in car restoration, you ensure that your hard work lasts and your car continues to look pristine. Proper post-painting care is not just about aesthetics; it’s about maximizing the longevity of your vehicle’s new finish.
Conclusion
Refinishing your car may seem like a challenging project, but with the right knowledge and tools, it’s entirely achievable.
By following this guide, you’re well on your way to transforming your vehicle’s appearance and enjoying the many benefits of DIY car refinishing. Remember, preparation and patience are your best friends throughout this process.
Ready to take the plunge? Start your car refinishing project today and experience the satisfaction of driving a car that looks as good as new. For more car painting tips, don’t hesitate to book a consultation with one of ARPshop experts. Let’s bring that showroom shine to your driveway!